
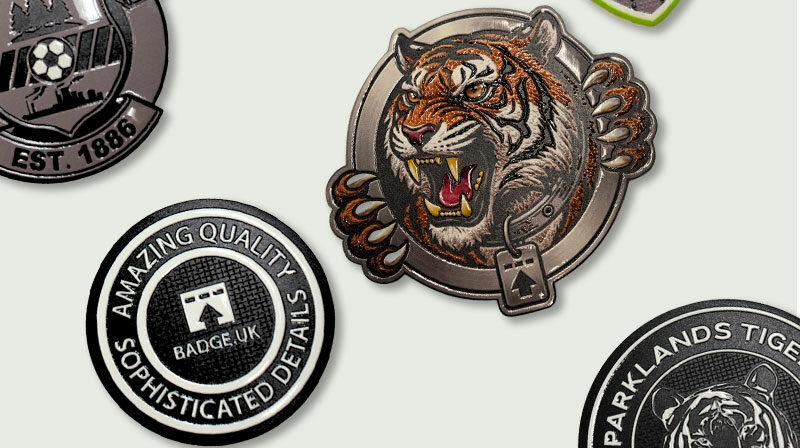
UV TPU badges offer a modern way to add detailed branding, logos and decorative designs to clothing. They deliver the flexible, premium appearance associated with traditional TPU badges. However, they usually cost less and take less time to produce.
As a result, UV TPU badges work particularly well for clothing brands, sports teams, workwear suppliers and businesses that need a professional badge without expensive mould costs or long production times.
What Is a UV TPU Badge?
Manufacturers create UV TPU badges from thin, flexible TPU material. They then apply the artwork using high-definition UV printing.
Because of this printing process, UV TPU badges can display sharp text, small details, gradients and vibrant colours. In addition, the lightweight material sits neatly against the garment without adding unnecessary thickness or weight.
You can apply UV TPU badges to T-shirts, hoodies, uniforms, sportswear, promotional clothing and many other suitable garments.
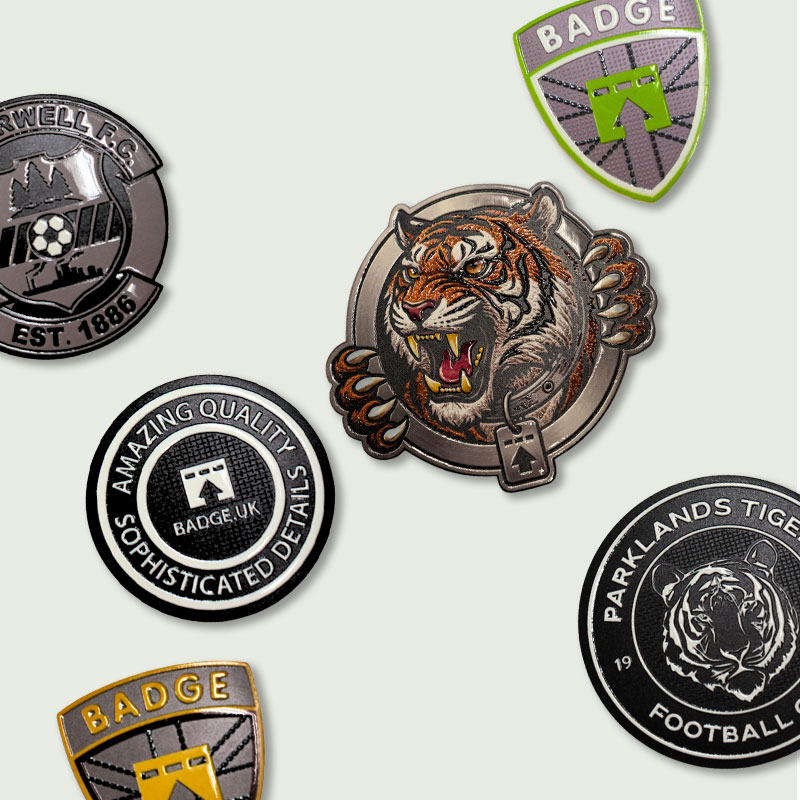
UV TPU Badges Compared with Traditional TPU Badges
Traditional TPU badges usually require a custom mould. Although this process creates a raised, rubber-like finish, the mould increases both the setup cost and the production time.
In contrast, UV TPU badges do not normally require the same moulding process. Therefore, they offer several practical benefits:
- Faster production
- Lower setup costs
- More affordable small orders
- Sharp printed detail
- Vibrant full-colour artwork
- Lightweight and flexible construction
- No expensive mould for each new design
Traditional TPU badges may still suit designs that require a deeply raised or heavily moulded effect. However, UV TPU badges often provide the better option when price, speed and detailed artwork matter most.
How Do You Apply UV TPU Badges?
You can apply our UV TPU badges using a heat press.
First, pre-press the garment for approximately five to ten seconds. This step removes moisture and flattens the application area.
Next, position the badge in the desired location. Then secure it with heat-resistant transfer tape so it does not move during pressing.
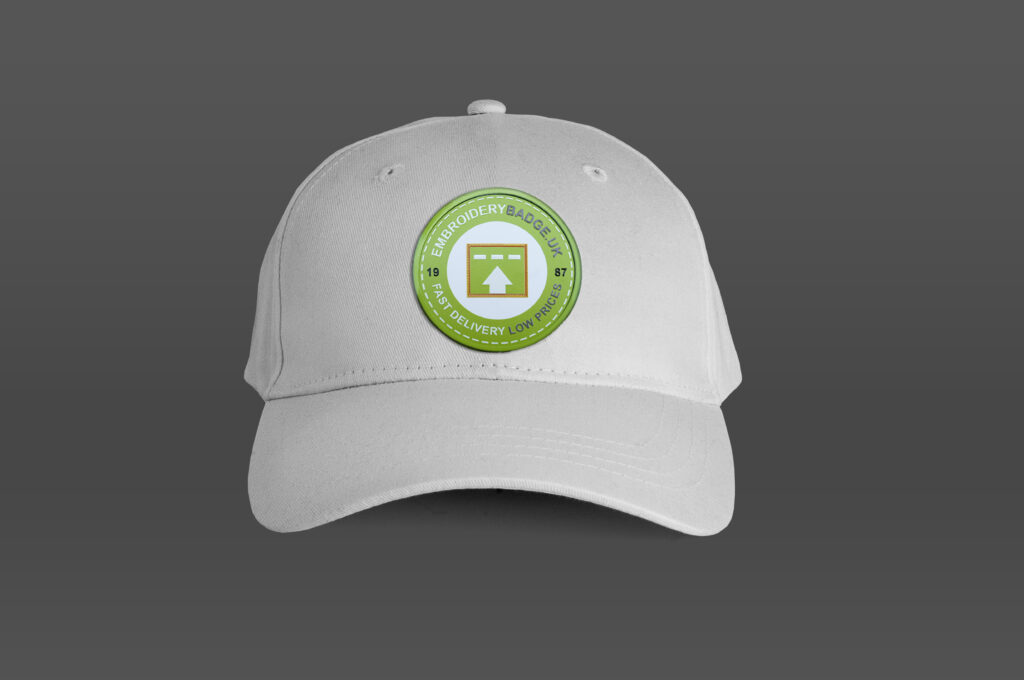
After that, place a small silicone pad beneath the pressing area. Also, cover the badge with a protective sheet to prevent direct contact with the heat press.
For the badge shown in our video, we used the following settings:
Temperature: 140°C
Time: 20 seconds
Pressure: Medium-low
Once the pressing cycle finishes, allow the badge to cool completely. Do not lift the badge or test the adhesive while it remains hot. Instead, wait for the adhesive to set before checking the bond and removing the transfer tape.
Heat press settings can vary depending on the garment, fabric and badge construction. Therefore, always test one badge before starting a full production run.
For cap heat press instructions, see our Heat Seal Instructions page on EmbroideryBadge.uk.
Order Custom UV TPU Badges
Custom UV TPU badges provide an excellent balance of detail, flexibility, price and production speed.
Whether you need badges for workwear, sportswear, uniforms, merchandise or a clothing collection, we can help produce a custom badge based on your artwork and requirements.
Contact EmbroideryBadge.uk to discuss your design and request a free quotation.
Ready to place an order? Head to EmbroideryBadge.uk’s order page!
